


1:1 with a GTM engineerBuild any workflow in this course with an engineer · 8 sessions left · closes in Book your session

The Complete Claude for Marketing System: Design, Code, Cowork, and Automation

This is the full Claude marketing stack in one system: which interface to use for which job, how to build a design system once and reuse it forever, how to stand up a full AI…

Try Prosp Free45 minutes, on your own data · 8 sessions left
5/5 rated on Capterra·Used by 800+ agencies and sales teams
System11 sections
Section 1

Overview: The 10 Modules in This System

This is the full Claude marketing stack in one system: which interface to use for which job, how to build a design system once and reuse it forever, how to stand up a full AI marketing team of agents inside Claude Code, how Cowork automates local file-based marketing work, how to connect Notion and other tools via MCP, and how to run automated, personalised LinkedIn outreach at the end of the pipeline. Prosp is referenced where it fits naturally into the outreach and sequencing layer.

Ten modules:

  1. The four ways to access Claude and when to use each
  2. Claude Design: building a reusable brand system
  3. From design system to Claude skill
  4. Building an AI marketing team in Claude Code
  5. Claude Cowork: the local marketing workspace
  6. The multi-platform content system (repurposing, carousels, ads, SEO)
  7. Claude + Notion: content calendars and knowledge bases
  8. MCP explained: connecting Claude to your tools
  9. Automated LinkedIn outreach with Cowork (Prosp fits here)
  10. Full build order and skill library management

Why treat Claude as a system, not a chat window

The single biggest shift in how Claude gets used for marketing is moving away from prompting from scratch every time, and instead building a system once: a brand design system, a set of reusable skills, a folder structure Claude already understands, and agents with clearly separated roles. Once that foundation exists, every future task gets faster and more consistent instead of starting from zero.

Section 2

Module 1: The Four Ways to Access Claude

Four distinct ways to access Claude, each suited to a different stage of marketing work.

Claude Chat, Cowork, Claude Code, and Claude Design

Claude Chat: best for thinking, brainstorming, and organising projects. Everything lives in the cloud, so outputs still need to be copied out and saved elsewhere. Use this for planning and ideation, not for execution.

Claude Cowork: a local desktop agent built for non-technical marketers. It reads your local folders, connects to your tools, and delivers finished output directly into your file system rather than into a chat window. This is where roughly 80 percent of marketing tasks should live if you want zero coding involved.

Claude Code Desktop: Claude Code without the terminal, giving most of the power of full Claude Code with a friendlier interface. This is where custom agents, skills, and MCP connections get built and orchestrated together.

Claude Code Terminal: the full experience, most powerful and most customisable, best accessed through an IDE like VS Code so you can see your folder structure and generated files side by side as Claude works.

Claude Design: a separate visual design studio linked inside Claude, used specifically for building brand design systems and generating on-brand marketing assets like slide decks, carousels, lead magnets, and landing pages.

Which to use for which task

Use Chat for thinking and brainstorming. Use Cowork for getting local, file-based marketing work done end to end. Use Claude Code when you need custom agents, MCP-connected data, or a multi-agent team working together. Use Claude Design specifically for anything requiring visual design decisions: brand systems, carousels, decks, and landing pages.

The real unlock is not picking one of these permanently, but moving between them at the right stage: design decisions in Claude Design, then packaged into a skill that runs inside Cowork or Claude Code for repeatable production.

Section 3

Module 2: Claude Design: Building a Reusable Brand System

The core insight for Claude Design: it is not for generating final marketing assets one at a time. It is for making the visual decisions once, so those decisions can be executed everywhere else inside Claude.

Building your brand design system

A brand design system is your marketing brand kit specifically formatted for Claude. It defines colours, fonts, and visual style in one place so every asset generated afterward looks consistent.

To build one you need at minimum: your logo, your brand colours and fonts, and one real example asset (a landing page or slide deck) that demonstrates your existing visual style. Gather these into a single folder, then create the design system inside Claude Design by attaching that folder and adding a few notes about the brand.

The process typically takes ten to fifteen minutes and returns a full breakdown of templates, components, branding elements, base palettes, and UI elements based on what you provided. Start basic rather than overcomplicating this step; you can always add more detail later by giving feedback or attaching additional materials.

Once satisfied, publish the design system so it becomes available to the whole team and can be set as the default for future projects.

Creating reusable asset templates

The goal at this stage is not a finished asset but a reusable template: a social carousel template with a cover slide, body slide, and end slide, generated with several layout variations for the body slide so there is always variety to draw from. A slide deck template works the same way, and a lead magnet template built from a multi-page document layout with placeholder sections for checklists, flowcharts, and scorecards.

The key habit here is using comments and direct edits to refine the template until you are close to fully satisfied, since the template becomes the foundation every future asset in that category is generated from. Time spent perfecting the template here compounds across every future use.

A useful decision rule: build a reusable skill for anything you create repeatedly, like slide decks or carousels. For one-off builds, like a lead generation landing page where every campaign has a different offer, just generate directly inside Claude Design where the visual editing tools already live.

Section 4

Module 3: From Design System to Claude Skill

Once a template exists inside Claude Design, the next step is exporting it and packaging it into a skill so it becomes usable anywhere inside Claude, not only inside the design tool itself.

The export and packaging workflow

Once a template is ready, export the whole project as a standalone HTML file rather than exporting individual images. Bring that exported file into Cowork or Claude Code, and ask Claude to extract the template and package it into a reusable skill (a carousel design skill, a slide deck skill, a lead magnet skill).

From that point forward, running the skill with new source material (a transcript, an image, a campaign brief) produces a finished asset using the exact template and layout variety already baked in, without needing to touch Claude Design again for that asset type.

A bonus step worth setting up: an image export skill that converts a finished HTML carousel into individual images ready for direct publishing, saved automatically into your working folder.

Motion graphics and animation

Claude Design can also produce simple motion graphics and animated explainer videos using the same design system. The most effective approach is asking Claude to propose several storytelling directions before generating anything, rather than jumping straight to output.

A reliable prompt structure for this: state the big picture in one line (what the project is and why it needs a storytelling scene), give the information itself concisely, specify what job the scene is doing (explaining, comparing, showing a statistic, simplifying), then ask for a few directional concepts before generating the final animation. Getting the concept right before generation matters more than iterating on the execution afterward.

Section 5

Module 4: Building an AI Marketing Team in Claude Code

Claude Code lets you build a full team of specialised marketing agents that share the same workspace, hand off work to each other, and each carry their own context window rather than working in silos the way separate Claude chats do.

Designing your agent team

Four steps: map the marketing tasks you actually do every week, turn each repeatable one into a skill, group non-overlapping skills into distinct agent roles, then connect the agents and skills as a coordinated team by updating your project instructions so Claude knows who does what and when.

Give each agent a specific and non-overlapping role to minimise conflicts. A reasonable starting team covers content strategy and research, presentation and document creation, data analysis, social and creative design, and campaign or SEO writing.

Each agent is defined in a single markdown file covering its role and responsibilities, its knowledge (workflow details, reusable skills it should use), and the MCP tools it has access to.

Building agents step by step

Set up a project folder with system folders (context, templates, SOPs) and working folders (where finished output goes). Load brand context files (voice guide, style guide, ICP, strategy) into the context folder before building any agents, since this is what makes every future agent output aligned rather than generic.

Create agents using the built-in agent command inside the Claude Code terminal view. For each agent: describe its purpose, select its tools, pick its default model, and specify where its memory lives. A simple first agent might be a content strategist with no skills or MCP tools attached, just brand context and a clear role.

More advanced agents can be layered with official skills (like document or presentation creation), MCP-connected live data (Google Analytics, Notion, Ahrefs), and custom skills built specifically for your brand.

Once several agents exist, update your project instructions file with explicit agent routing rules: which agent handles which type of request, and what phrases should trigger delegation to each one. This step is what makes multi-agent orchestration reliable rather than inconsistent.

Running the team together

Once routing rules exist, a single complex request (research a topic, then write a blog post and build a presentation deck from the findings) gets automatically broken down and delegated: the research agent runs first, then the content and presentation agents pick up the output once research is complete, producing a coherent set of deliverables that all trace back to the same underlying findings.

For genuinely complex, multi-step campaign work, Claude Code also supports agent teams (as distinct from simple sub-agents), where multiple agents can share a task list and review each other's work before reporting back to the lead. This uses meaningfully more tokens, so it is worth asking for a high-level plan first and only proceeding once you are satisfied with the proposed approach.

Section 6

Module 5: Claude Cowork: The Local Marketing Workspace

Cowork is the non-technical entry point to the same agentic engine that powers Claude Code, built specifically around local file access and end-to-end task execution.

Setting up your marketing workspace

Create a simple folder structure: a context folder for brand knowledge, a templates folder for reusable assets, and a working folder for outputs. Set global Cowork instructions once (a couple of short lines are enough, such as always scanning the context folder before starting a task) so every session inherits the same baseline behaviour.

Rather than writing brand context files yourself, let Claude interview you: point it at your marketing folder and ask it to create brand context, brand voice, and ideal customer profile files, answering its questions as it builds them. Once built, every future task in that folder already knows your brand without you re-explaining it.

Reusable Cowork projects

For workflows you run repeatedly (a weekly carousel design, a client report), set up a dedicated Cowork project rather than a one-off task. A project keeps its own instructions, its own context files, and its own memory, meaning you set the system up once and every future session in that project already knows what to do.

A typical project setup: a context folder with brand files, a reference folder with example outputs you like, and an output folder where finished work is saved. Ask Claude to analyse the references and context to generate a style guide and design system file specific to that project, and write clear project instructions describing how Claude should navigate the folder and what rules to follow.

Connectors, live artifacts, and browser use

Connectors let Cowork pull live data from external tools the same way it works with local files. Common examples for marketing: a web scraping connector for competitor social monitoring, Gmail for reading and drafting, and design tools for building presentations natively.

Live artifacts take this further: instead of a static one-time output, a live artifact is a persistent, interactive page built from connected data sources that can be refreshed on demand rather than regenerated from scratch. Useful for things like an ongoing content performance dashboard or a search visibility tracker, pinned in your sidebar for quick access.

Browser use lets Cowork actually navigate live websites: clicking, scrolling, and reading pages in real time. This matters for marketing tasks that cannot be done through files or APIs alone, like checking how your brand appears across different AI search assistants for a list of target prompts, then synthesising the findings into a tracked spreadsheet.

Turning workflows into skills and scheduling them

Once a workflow (a lead magnet builder, a competitive report generator) has been run successfully a few times, package it into a reusable skill so it can be triggered on demand without re-explaining the process. Making a skill brand-agnostic when possible means it can be reused across multiple clients or projects rather than being tied to one brand.

Finally, scheduled tasks let any of these workflows run automatically on a recurring basis (weekly content briefs, monthly performance reports, weekly competitive digests), turning Cowork into an ongoing marketing control centre rather than something you have to manually trigger every time.

Section 7

Module 6: The Multi-Platform Content System

A single project folder can drive repurposing, carousel generation, ad creative production, and SEO blog publishing, all controlled through one simple content planner spreadsheet.

Content repurposing as the highest ROI starting point

Repurposing existing content (blog posts, transcripts) into multiple new formats is the highest-leverage starting workflow because it unlocks additional value from work already done rather than creating anything new. Point Cowork at a folder of source content and ask it to repurpose each piece into platform-specific social posts and a newsletter draft, generating accompanying visuals in the same pass.

Each generated post should indicate its source, the format it follows, the hook used, and a suggested visual direction, so a teammate handling design has enough context to execute without further back-and-forth.

Carousel and ad creative production at scale

Set up a style library folder containing several distinct visual references, used as inspiration rather than a rigid template to copy exactly. Combined with a content planner spreadsheet tracking status per content piece, Cowork can batch-generate multiple sets of carousels or ad creatives in parallel, updating the planner with output file paths and completion status as it finishes each one.

For ad creatives specifically, generating a creative brief first (campaign overview, target audience, key message, hook variations, creative direction) before producing the actual visuals keeps output structured and consistent across a batch, rather than generating loosely related images with no strategic throughline.

SEO content generation and publishing

For organic search content specifically, set up content briefs first (topic, keyword strategy, content angle, structure, AI search optimisation notes) before generating full blog drafts. This standardises quality across a batch of articles and keeps them aligned to a real content strategy rather than generated independently.

Once drafts and header images are generated, they can be pushed directly to a CMS as drafts through an MCP connection, ready for human review before publishing. Always review AI-generated blog drafts before publishing: add unique data, personal insight, and original graphics rather than shipping the first draft as-is.

Section 8

Module 7: Claude + Notion: Content Calendars and Knowledge Bases

Connecting Claude to Notion turns any database into an AI-powered workspace: content calendars that draft and schedule themselves, dashboards generated on demand from raw project trackers, and an intelligence layer sitting on top of your team's entire knowledge base.

Content calendar automation

With a Notion content calendar connected, Claude can take a long-form source (a video script, a blog post) and repurpose it into platform-specific posts, writing them directly into the calendar with the correct status, content type, and formatting per platform, rather than requiring manual copy-paste into the database afterward.

Design tool connections layered on top let Claude generate accompanying visual options for a specific post and link the chosen design back into the same Notion entry, keeping the whole content pipeline (copy, visual, schedule) inside one connected system instead of scattered across separate tools.

On-demand dashboards from raw trackers

Rather than relying on a Notion database's built-in (often paywalled) visualisation features, Claude can generate a full interactive dashboard directly from a project or campaign tracker: status breakdowns, priority views, upcoming deadlines, all formatted for presenting to stakeholders. Saving a working version as a template means future dashboard requests just pull the latest data into the same proven layout rather than being rebuilt from scratch each time.

Notion as a connected knowledge base

For a growing team knowledge repository (SOPs, brand kits, personas, guidelines), Claude can act as an intelligence layer that retrieves and connects the right pieces of that repository for a specific need, such as building a tailored onboarding checklist for a new hire that links only to the resources actually relevant to their role, rather than pointing them at the entire repository.

The same approach works for designing new operational structures from scratch: given a product brief, Claude can propose and build an entire set of connected Notion databases (asset tracker, milestone tracker, messaging document) to serve as a central hub for a launch or campaign, saving significant structural design time even if some manual cleanup (like removing occasional duplicate databases) is still required.

Turning unstructured data into structured intelligence

Raw, messy data (customer reviews, open-ended survey responses) imported into a Notion database can be enriched by Claude adding classification properties (pain point type, priority level, owner) and populating them by analysing each entry, turning an unstructured dump into an actionable, filterable database ready for a dashboard layer on top.

Section 9

Module 8: MCP Explained: Connecting Claude to Your Tools

MCP (Model Context Protocol) is the standard that lets Claude connect to external tools and data sources without a custom one-off integration for every single service.

Why MCP exists

Before a shared standard like MCP, connecting an AI system to each business tool required a separate custom integration, and every model change meant redoing that work across every connected tool. MCP solves this by giving AI applications and business tools a shared protocol: connect once, and the same connection continues to work regardless of which underlying AI model is being used.

The practical benefit for marketing teams: your workflows and connectors stay stable even as the underlying AI model changes or improves, rather than needing to be rebuilt with every upgrade.

Four ways to connect, in order of preference

Native integrations: built-in connectors inside Claude or other AI apps for common tools like Gmail, Calendar, and Google Drive. Zero technical setup, the lowest-risk option, and the right starting point whenever available.

Official MCP servers: built and maintained directly by the tool provider (Notion, HubSpot, Perplexity), used when a native integration is not available. These require some setup (generating an access token, adding server configuration) but are well-maintained and more secure than unofficial alternatives.

Community-built MCP servers: maintained by individuals rather than the tool provider itself, useful for tools without official support but carrying more security risk (data handling, prompt injection exposure). Use only when no official option exists, and always grant the minimum access necessary.

Custom MCP servers: built yourself, often through a no-code automation platform, for proprietary systems or unique business requirements that no official or community server covers.

General rule: start with native integration, move to official servers if unavailable, and only consider community or custom solutions when there is a genuine gap. Always grant minimal necessary permissions regardless of which method you use.

Section 10

Module 9: Automated LinkedIn Outreach with Cowork

Once content, design, and orchestration are handled, the final layer of this system is direct, personalised outreach: using Cowork's browser access to send genuinely personalised LinkedIn messages on a recurring schedule, and where volume or sequencing complexity grows, folding that into a dedicated outreach tool.

Setting up browser-based LinkedIn outreach

With the Cowork browser extension installed and a LinkedIn tab (Sales Navigator or standard LinkedIn both work) added to Claude's active tab group, Cowork can navigate to a specific prospect's profile, read their recent posts to understand what they have been talking about, and use that context to draft and send a genuinely personalised message rather than a generic template.

The personalisation step is what separates this from a mail-merge style automation: because the message references something the prospect actually posted, it reads as a real, considered outreach rather than an obvious bulk send, which is reflected in noticeably higher response rates compared to generic outreach.

Scheduling recurring outreach

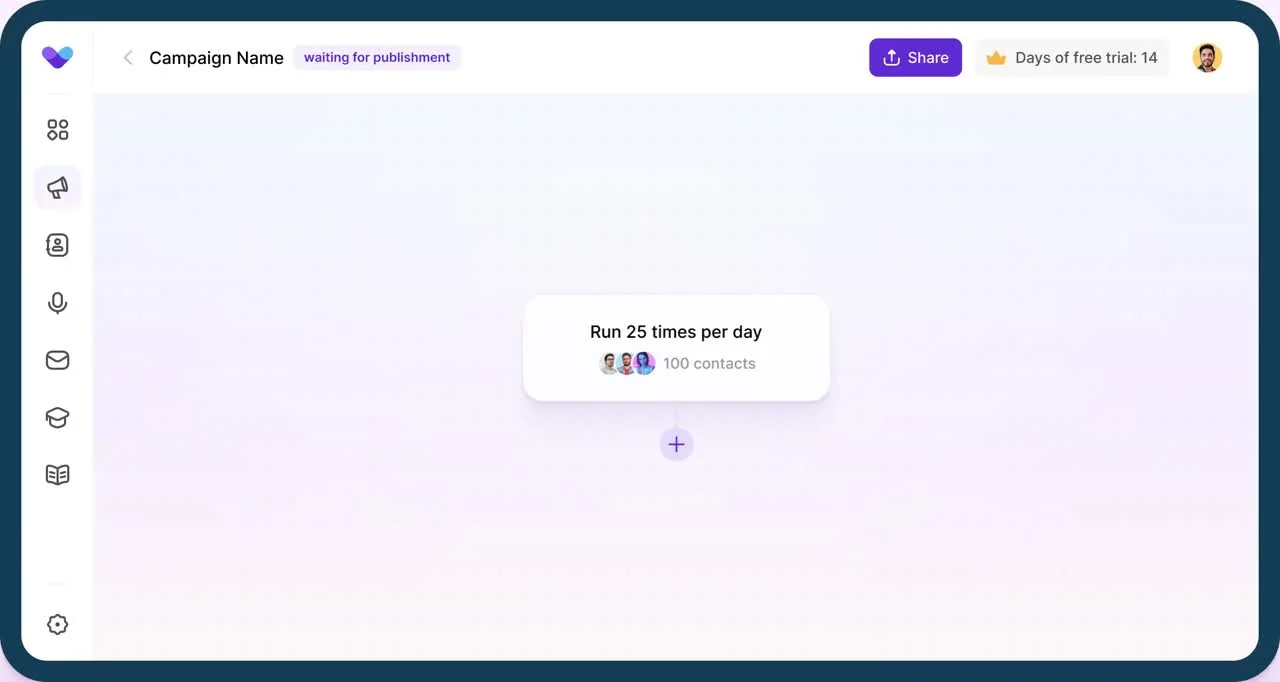
Once the single-message workflow is confirmed working, the same task can be turned into a scheduled task that runs daily at a set time, sending a defined number of personalised messages to a specific target audience automatically, without you manually running the workflow each day.

For model selection on this kind of task, a mid-tier model is generally the right balance of quality and cost; the fastest, cheapest model tends to underperform on the research and personalisation step that makes this outreach effective in the first place.

Where Prosp fits into this outreach layer

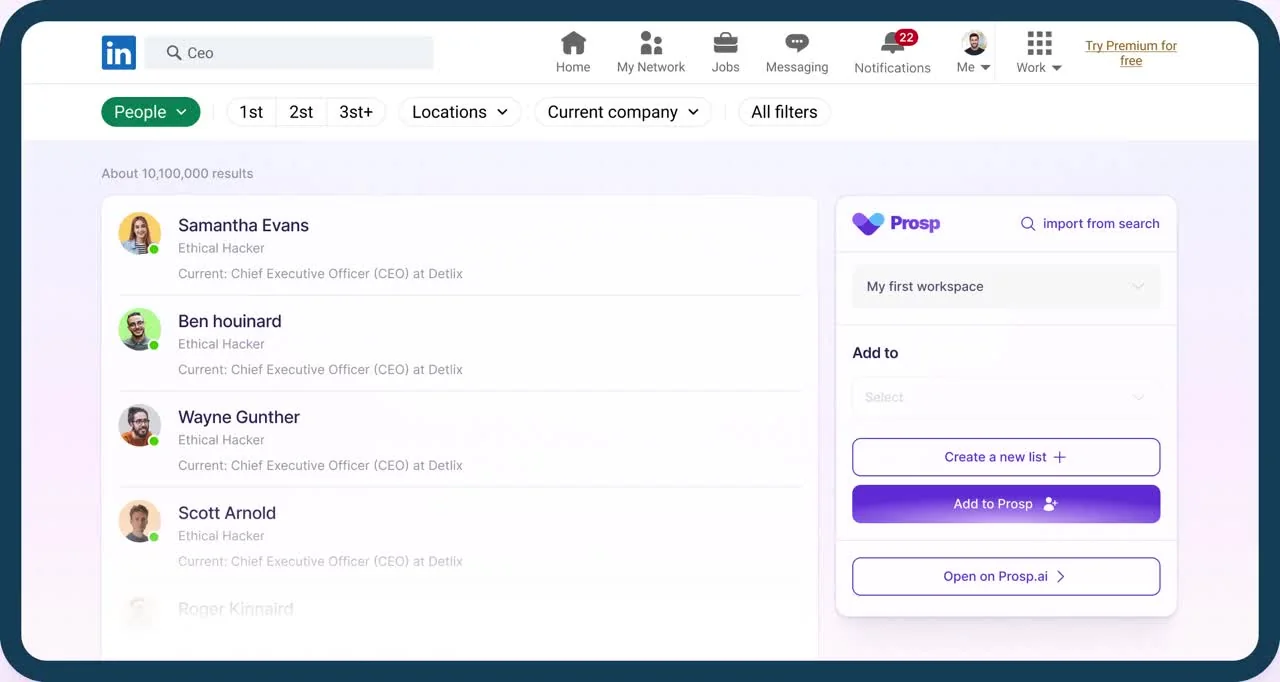
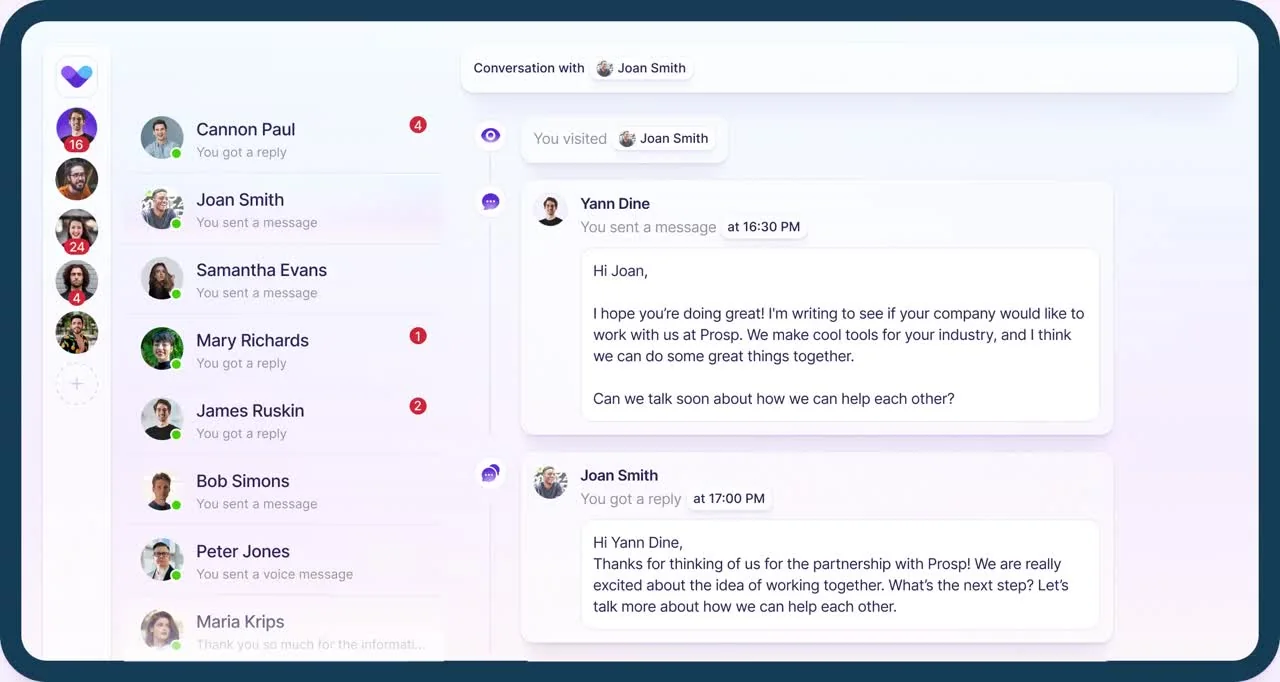
The Cowork browser workflow above works well for a single LinkedIn account sending a modest daily volume of personalised messages. For GTM teams running outreach at higher volume, across multiple sender accounts, or needing structured multi-touch sequencing (rather than a single message per prospect), a dedicated tool like Prosp fits naturally at this layer: it can manage sequenced LinkedIn and email outreach, track replies across a larger prospect list, and handle the operational side of running outbound at scale once the personalisation approach and messaging have already been proven out through a Cowork-driven pilot like the one above.

A reasonable way to think about the split: use Cowork to test and refine the personalisation angle and message quality on a small scale first, then move the proven approach into a sequencing tool like Prosp once you are ready to run it across a larger prospect list or need more structured multi-touch follow-up than a single daily message per prospect.

Section 11

Quick Reference: Full Build Order and Skill Library Management

The full system condensed into a build order, plus how to turn a personal skill library into a shared team asset.

The build order

Week 1: build your brand design system in Claude Design, and separately set up your Cowork or Claude Code project folder with context files (brand voice, ICP, strategy) so every future session already knows your brand.

Week 2: package your first two or three design system templates (a slide deck, a carousel format) into reusable skills, and build your first Claude Code agent (a content strategist or research agent) with brand context loaded in.

Week 3: connect your key tools via native integration or official MCP servers (Notion, an analytics tool, a scraping tool), and set up your content planner spreadsheet to drive batch repurposing, carousel generation, or ad creative production.

Week 4: build out two or three more agents with distinct roles, write the agent routing rules into your project instructions, and test a full multi-step task that requires several agents to hand off work to each other.

Ongoing: add scheduled tasks for recurring workflows (weekly content briefs, monthly reports), set up the LinkedIn outreach workflow starting small in Cowork, and once the approach is proven, consider moving outreach volume into a dedicated sequencing tool like Prosp.

Turning a personal system into a team system

Once a set of skills exists and works reliably, package them into a Claude plugin bundle rather than sharing skill files one by one. A plugin can include skills, custom slash commands, and even custom agents, making the entire setup portable to a new brand or project in one install rather than being rebuilt piece by piece.

For visibility across a team, maintain a skill library (in Notion or a similar tool) tracking each skill's name, description, category, and version, so teammates can browse what already exists before building something duplicative, and so updates to a skill can be tracked and synced systematically over time.

8 sessions left · booking closes in

Build it live with a GTM engineer

45 minutes, screen shared, on your own list. You leave with a working campaign or agent, not a set of notes.

5/5 rated on Capterra·800+ agencies and sales teams·Set up in 5 minutes
8 GTM engineer sessions left this monthTry Prosp Free